External GCC for TriCore™ applications
Documentation
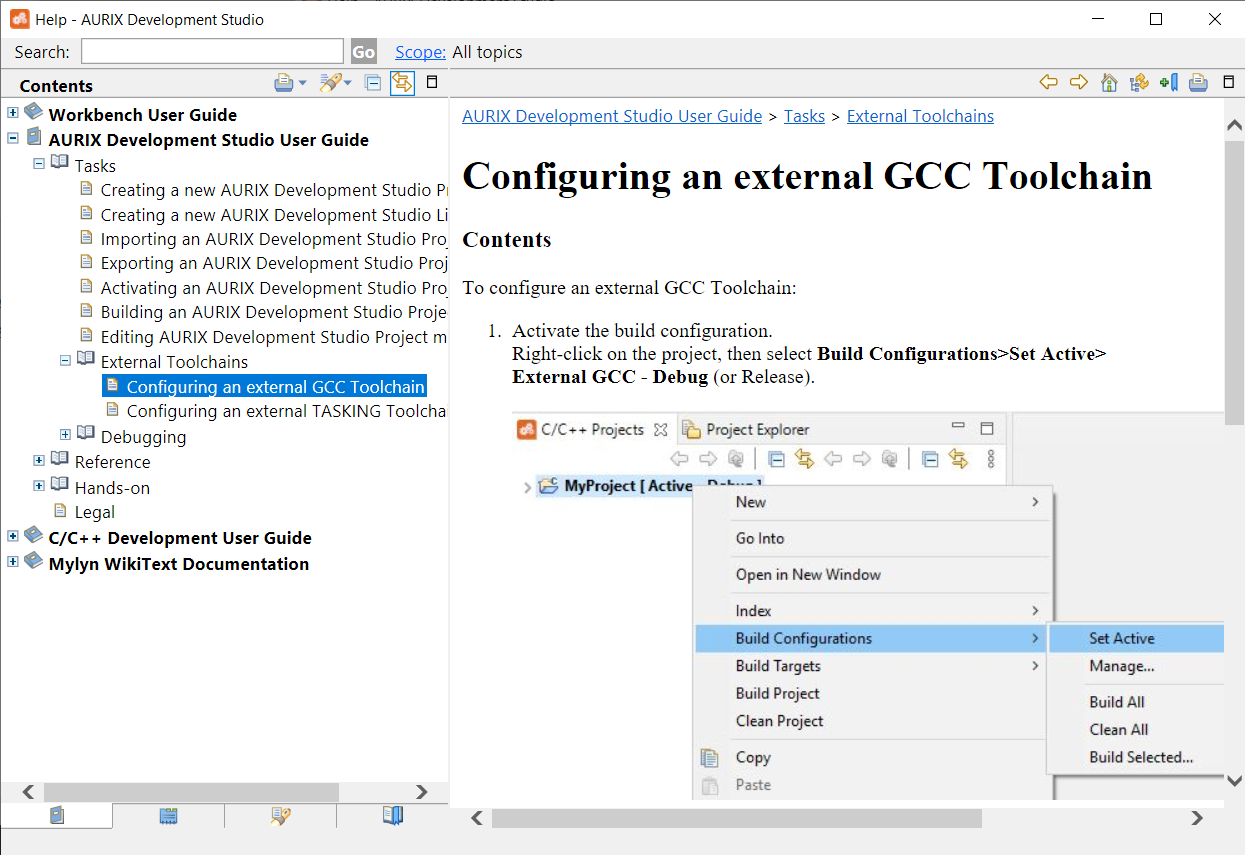
The configuration of an external GCC toolchain is described in the documentation of the AURIX Development Studio.
Choose , and navigate to .
Import existing Infineon example
To test if the HighTec compiler works correctly, let’s import one of the existing Infineon projects.
Select and click Next.
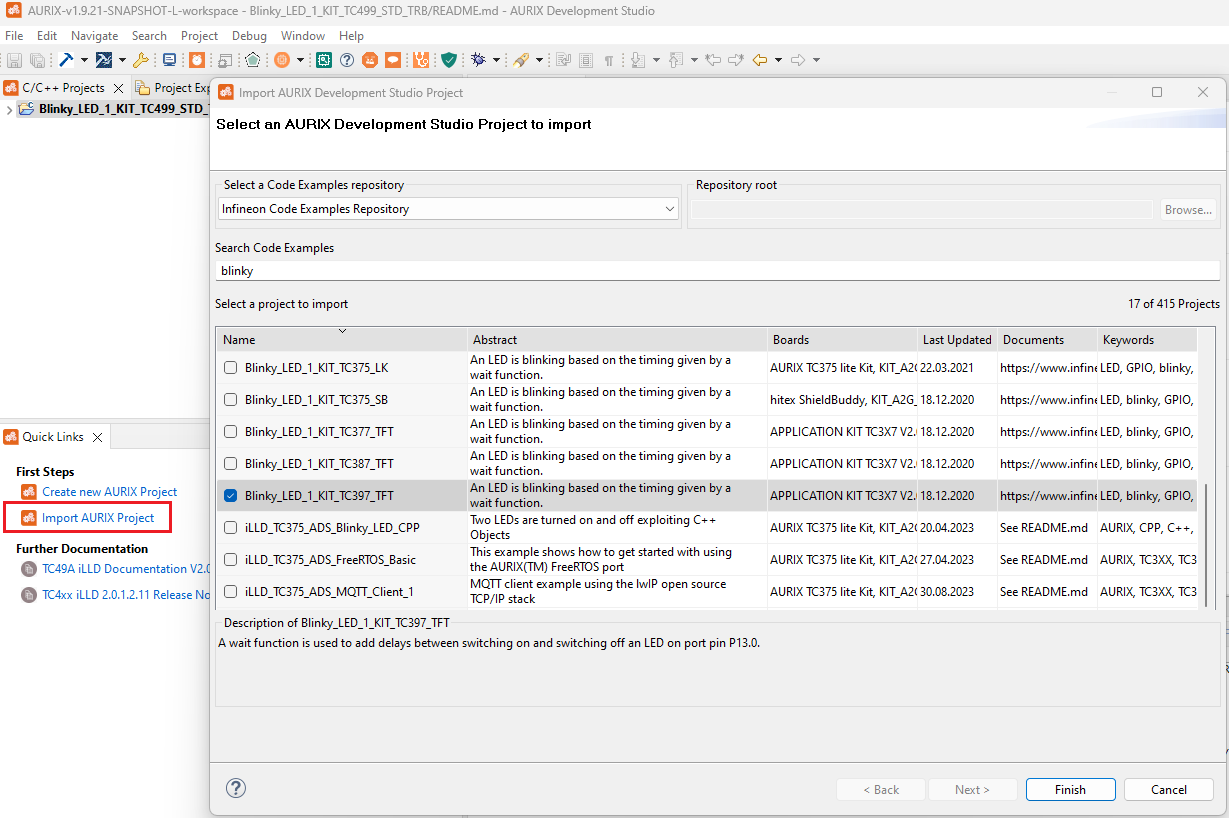
Then select an example of your choice (we will test the blinky example for Application Kit TC397).
Manage build configuration
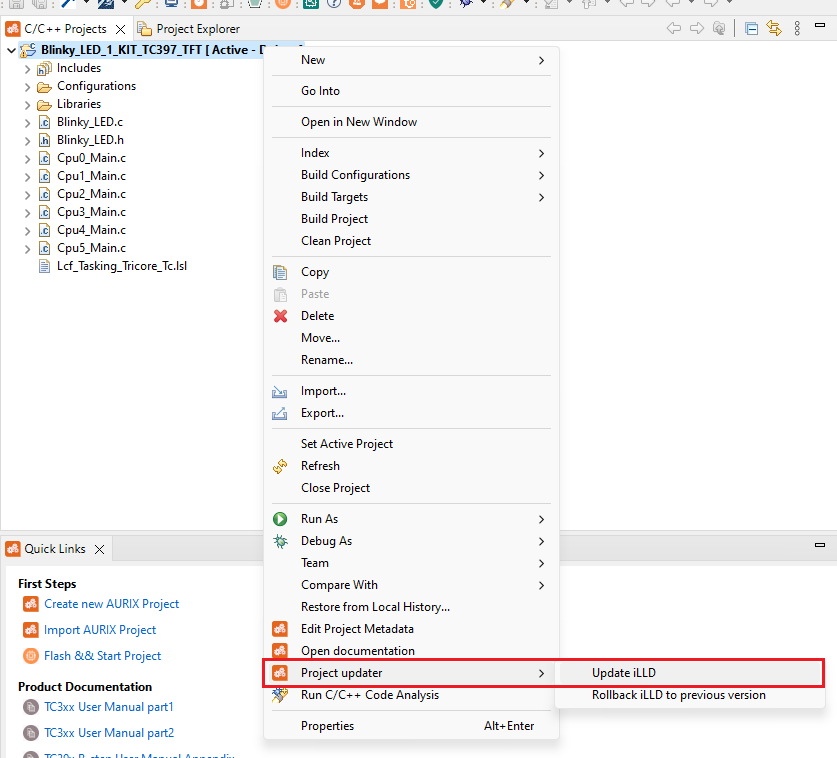
To create a new HighTec GCC toolchain configuration, right-click on the project and select .
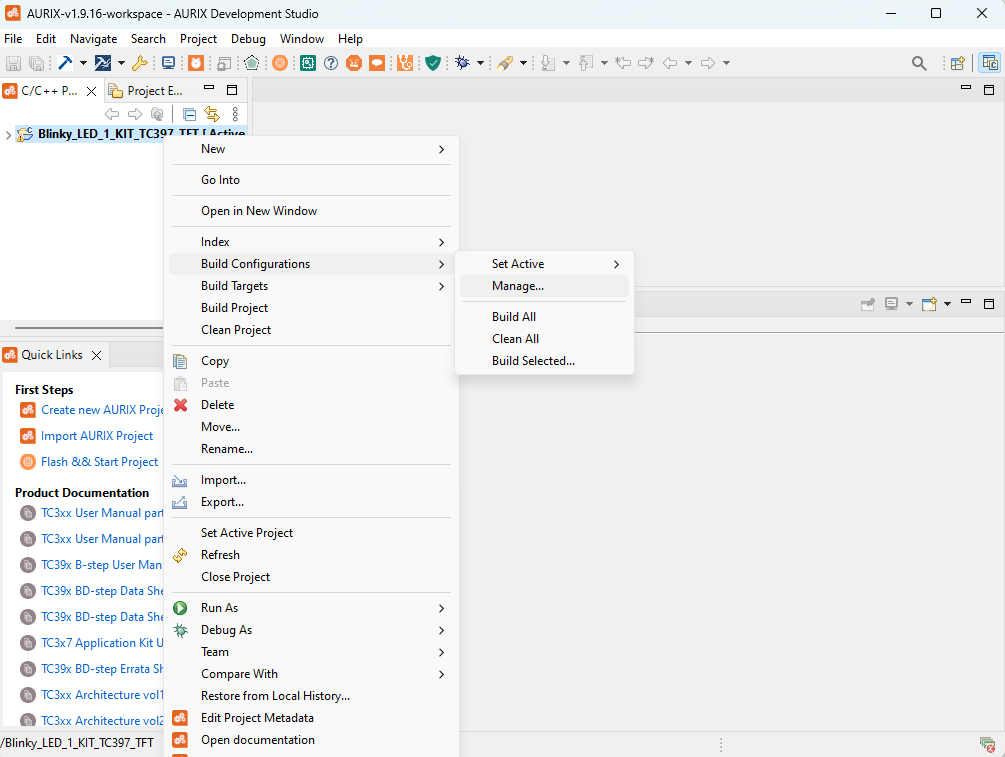
The Manage Configurations tab will be opened.
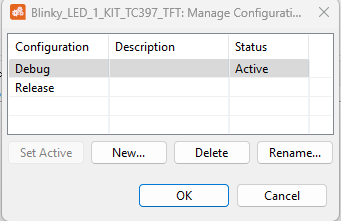
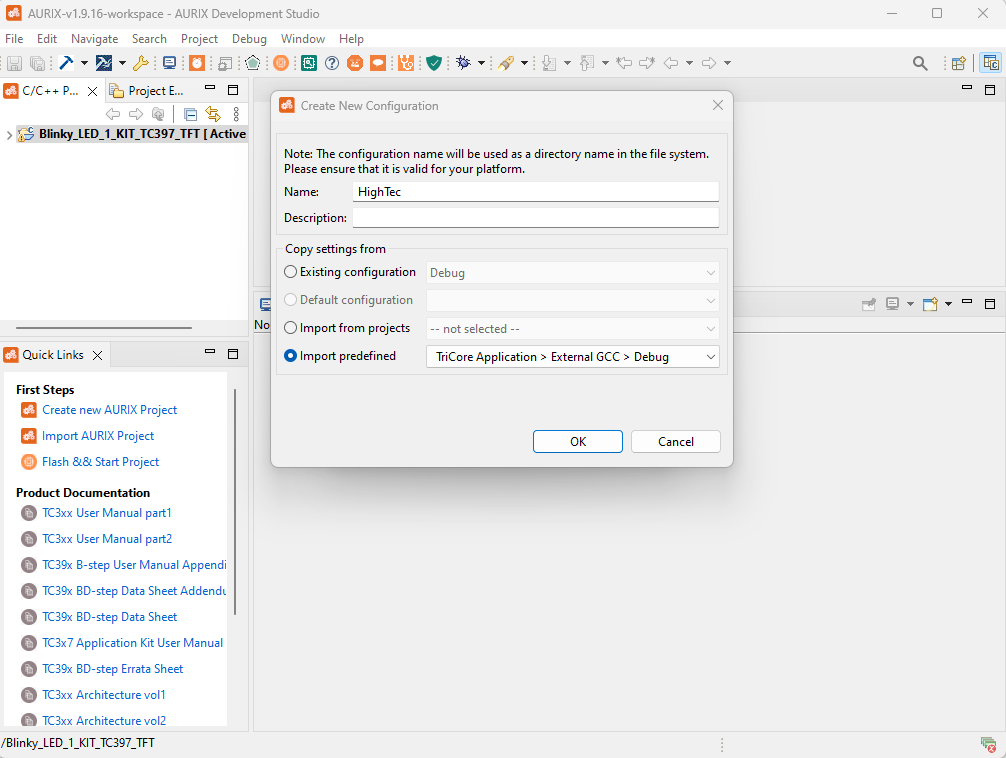
Select New and give a name to the new configuration. Then select Import predefined, choose and click OK.
Activate build configuration
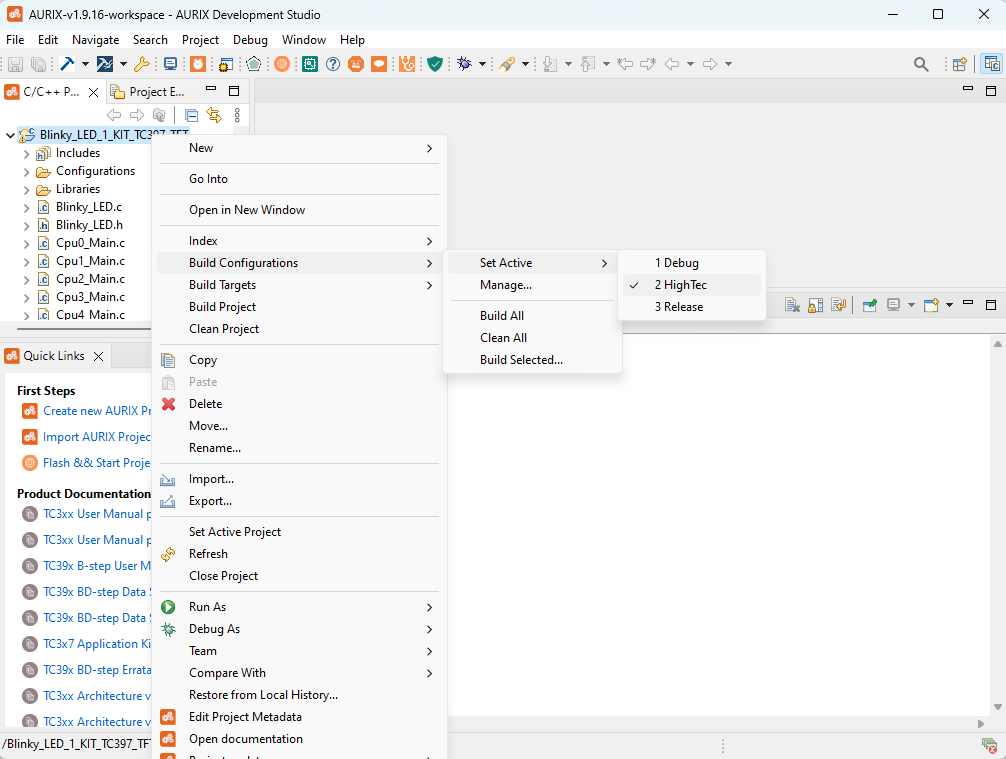
To select a new active configuration, right-click on the project and select .
Compiler-specific options
Path to the compiler
The path and name prefix of the HighTec compiler must be updated for the active build configuration.
Right-click on the project and select . Change the Prefix and Path fields under the Tool Settings tab. The prefix is always "tricore-" for AURIX devices; the path might be different.
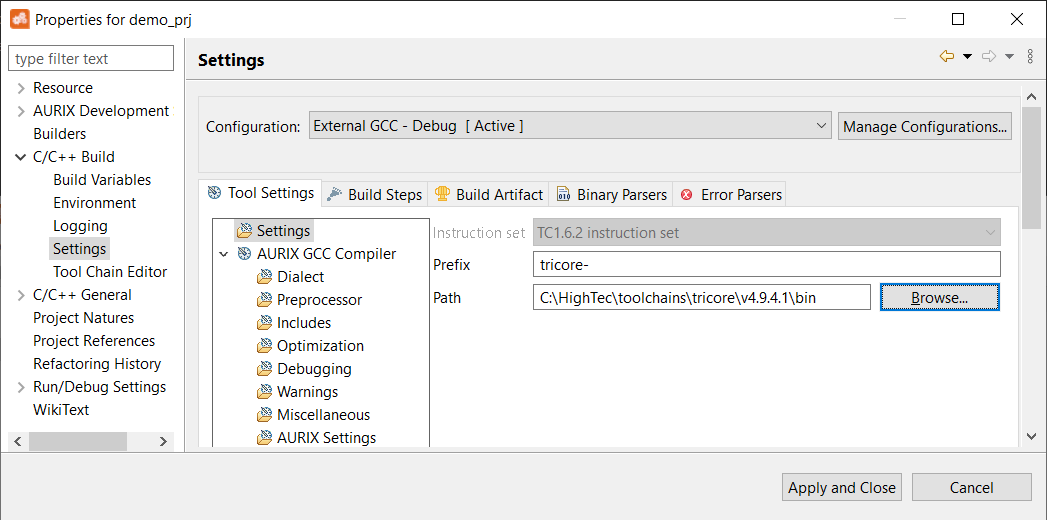
Now, the project will use the HighTec GCC compiler to build the application.
Include paths
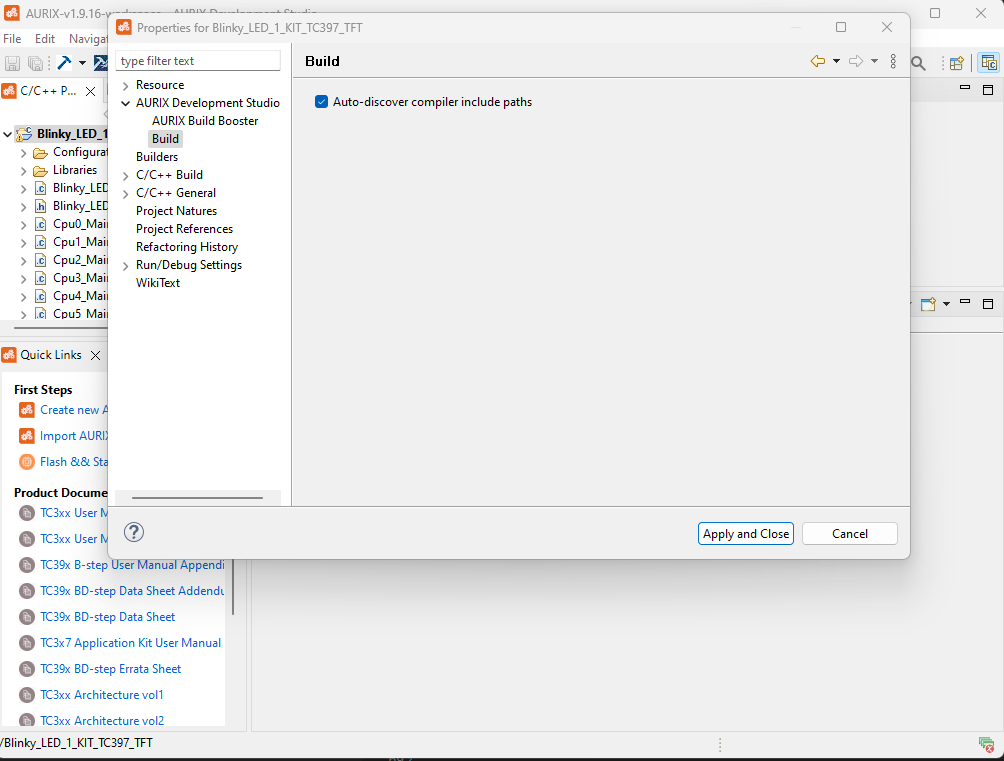
Right-click on the project and select check the box to auto-discover compiler include paths.
GCC linker options
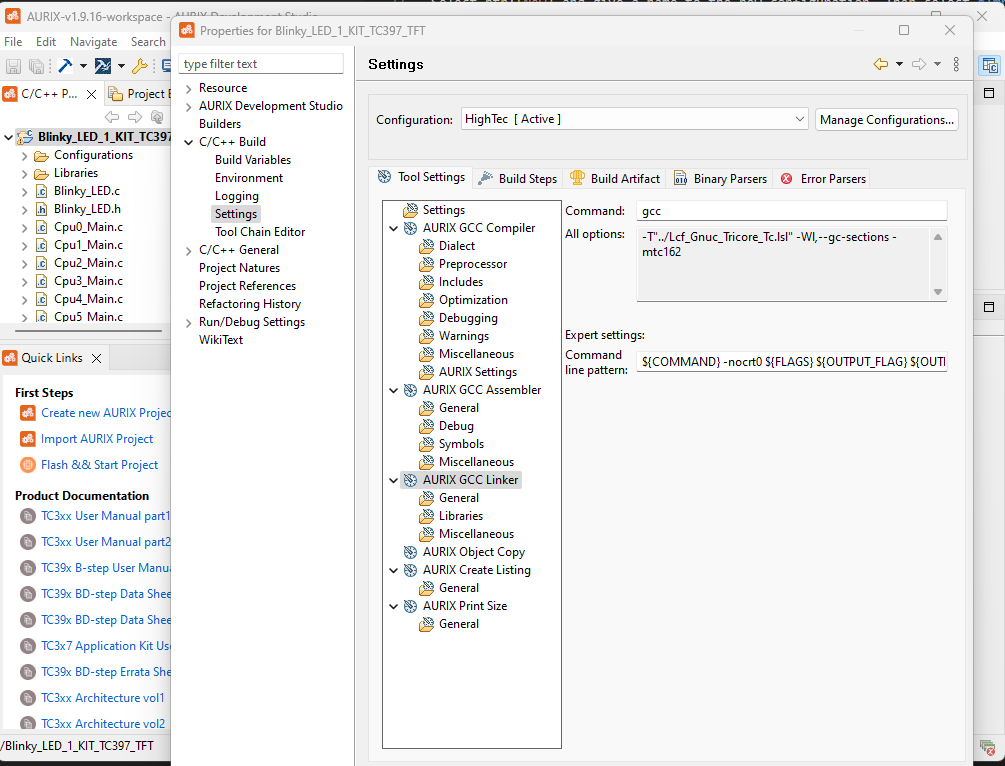
Right-click on the project and select , click on AURIX GCC Linker. Under Command line pattern, change:
From: ${COMMAND} ${FLAGS} ${OUTPUT_FLAG} ${OUTPUT_PREFIX}${OUTPUT} ${INPUTS} To: ${COMMAND} -nocrt0 ${FLAGS} ${OUTPUT_FLAG} ${OUTPUT_PREFIX}${OUTPUT} ${INPUTS}
Click on Apply and Close.
Linker script
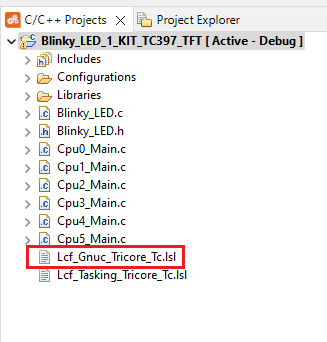
Before the imported Infineon example can be built with the HighTec compiler, the Lcf_Gnu_Tricore_Tc.lsl linker script file must be added to the newly imported Infineon project.
The linker will be generated by updating the iLLD.
Alternatively, you can find the linker script here: HighTec Linker Scripts.
After the linker script is in place, the project is ready to be built.